cara membuat kartu rfid sendiri
December 21, 2025
cara membuat kartu rfid sendiri proposal! cara membuat kartu rfid sendiri official support.GOV,cara membuat kartu rfid sendiri active!
# How to Make Your Own RFID Card
## Understanding RFID Card Basics
RFID (Radio-Frequency Identification) technology uses electromagnetic fields to automatically identify and track tags attached to objects. An **RFID card** typically contains an integrated circuit and an antenna, which enable it to transmit data to an RFID reader.
### Personal Experience with RFID Projects
I've been working with RFID technology for several years, starting with simple access control systems for my home workshop. My initial **RFID card** projects involved modifying existing cards, but I gradually progressed to creating custom cards from scratch. What surprised me was how accessible this technology has become for hobbyists - with basic electronics knowledge and affordable components, anyone can create functional **RFID cards**.
## Required Components for DIY RFID Cards
### Essential Materials:
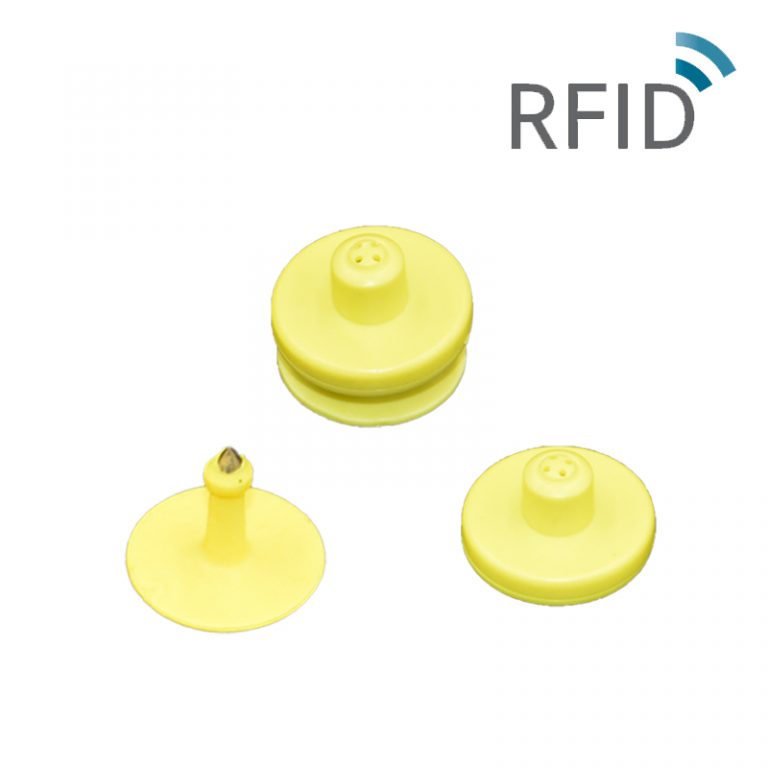
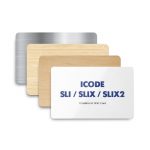
- RFID chips (EM4100, NTAG213, NTAG215, or NTAG216 are popular choices)
 - Copper wire or printed antenna
- PVC card blanks or plastic cards
- Soldering equipment (for wired connections)
- RFID reader/writer device
### Technical Specifications for Common RFID Chips:
**NTAG213 Specifications:**
- Memory: 144 bytes user memory
- Communication: ISO/IEC 14443 Type A
- Copper wire or printed antenna
- PVC card blanks or plastic cards
- Soldering equipment (for wired connections)
- RFID reader/writer device
### Technical Specifications for Common RFID Chips:
**NTAG213 Specifications:**
- Memory: 144 bytes user memory
- Communication: ISO/IEC 14443 Type A
 - Operating frequency: 13.56 MHz
- Chip dimensions: 2.5mm × 2.5mm
- Unique 7-byte serial number
- Data retention: 10 years
- Operating frequency: 13.56 MHz
- Chip dimensions: 2.5mm × 2.5mm
- Unique 7-byte serial number
- Data retention: 10 years
 - Write endurance: 100,000 cycles
**EM4100 Specifications:**
- Read-only 64-bit memory
- Operating frequency: 125 kHz
- Chip code: Typically programmed at factory
- Common dimensions: 1mm × 1mm to 2mm × 2mm
- Data format: Manchester encoded
- Write endurance: 100,000 cycles
**EM4100 Specifications:**
- Read-only 64-bit memory
- Operating frequency: 125 kHz
- Chip code: Typically programmed at factory
- Common dimensions: 1mm × 1mm to 2mm × 2mm
- Data format: Manchester encoded

 *Note: These technical parameters are reference data. For exact specifications, please contact our backend management team.*
## Step-by-Step Guide to Creating Your RFID Card
### Step 1: Design Your Antenna
The antenna is crucial for your **RFID card** functionality. You can:
- Create a spiral antenna using copper wire
- Print an antenna using conductive ink
- Etch an antenna on a copper-clad board
### Step 2: Prepare the RFID Chip
Based on my experience, handling RFID chips requires patience. These tiny components are delicate, so use proper tools like tweezers and a magnifying glass. I discovered I had a natural aptitude for working with micro-components, which made this process much easier for me than I initia
*Note: These technical parameters are reference data. For exact specifications, please contact our backend management team.*
## Step-by-Step Guide to Creating Your RFID Card
### Step 1: Design Your Antenna
The antenna is crucial for your **RFID card** functionality. You can:
- Create a spiral antenna using copper wire
- Print an antenna using conductive ink
- Etch an antenna on a copper-clad board
### Step 2: Prepare the RFID Chip
Based on my experience, handling RFID chips requires patience. These tiny components are delicate, so use proper tools like tweezers and a magnifying glass. I discovered I had a natural aptitude for working with micro-components, which made this process much easier for me than I initia
The Use of RFID for Human Identity Verification
- Copper wire or printed antenna
- PVC card blanks or plastic cards
- Soldering equipment (for wired connections)
- RFID reader/writer device
### Technical Specifications for Common RFID Chips:
**NTAG213 Specifications:**
- Memory: 144 bytes user memory
- Communication: ISO/IEC 14443 Type A
- Operating frequency: 13.56 MHz
- Chip dimensions: 2.5mm × 2.5mm
- Unique 7-byte serial number
- Data retention: 10 years
- Write endurance: 100,000 cycles
**EM4100 Specifications:**
- Read-only 64-bit memory
- Operating frequency: 125 kHz
- Chip code: Typically programmed at factory
- Common dimensions: 1mm × 1mm to 2mm × 2mm
- Data format: Manchester encoded
*Note: These technical parameters are reference data. For exact specifications, please contact our backend management team.*
## Step-by-Step Guide to Creating Your RFID Card
### Step 1: Design Your Antenna
The antenna is crucial for your **RFID card** functionality. You can:
- Create a spiral antenna using copper wire
- Print an antenna using conductive ink
- Etch an antenna on a copper-clad board
### Step 2: Prepare the RFID Chip
Based on my experience, handling RFID chips requires patience. These tiny components are delicate, so use proper tools like tweezers and a magnifying glass. I discovered I had a natural aptitude for working with micro-components, which made this process much easier for me than I initiaPhone: +86 19925232774
Hours: Mon-Fri 9:00AM - 6:30PM